- ReiBoot
- 4uKey
- UltData
- iCareFone for WhatsApp Transfer
- 4MeKey
- 4uKey for Android
- iAnyGo - iOS Location Changer
- UltData for Android
- ReiBoot for Android
- iCareFone
- 4uKey - Password Manager
- TunesCare
- TunesCare for Mac
- 4uKey - iTunes Backup
- 4WinBoot
- Windows Rescure
- Password & Key Recovery
- Data Recovery
- Disk Tools
- 1. Create a Bootable Disk
- 2: Boot Your PC from the Bootable Disk
- 3: Clone Entire Disk
- 4: Clone One Partition
- 5: Back up Disk
- 6. Back up Partition
- 7. Restore Disk
- 8. Restore Partition
- 9. Create a Partition
- 10. Format a Partition
- 11. Delete a Partition
- 12. Resize a Partition
- 13. Wipe a Partition
- 14. Wipe Specific Folders
- 15. Wipe Files
- How to Boot from CD/USB?
- How to Boot from USB in UEFI BIOS?
How to Enter Recovery Mode with ReiBoot
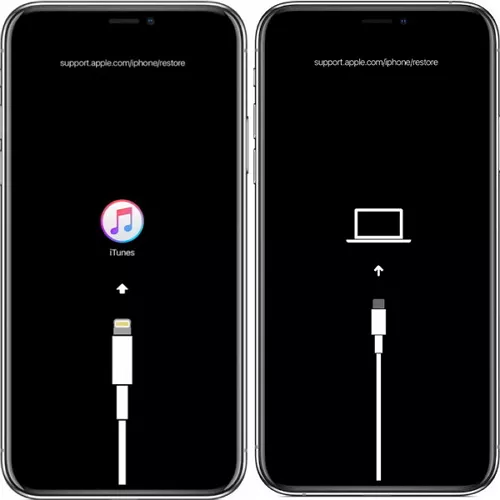
Putting iPhone into recovery mode is an easy way to fix many iOS stuck issues, such as update stuck, screen freezing or Apple logo screen. However, it is troublesome for users to enter iPhone into recovery mode manually, especially when the home button not working properly. Luckily, with Tenorshare ReiBoot, you can put iPhone into recovery mode with only one click.
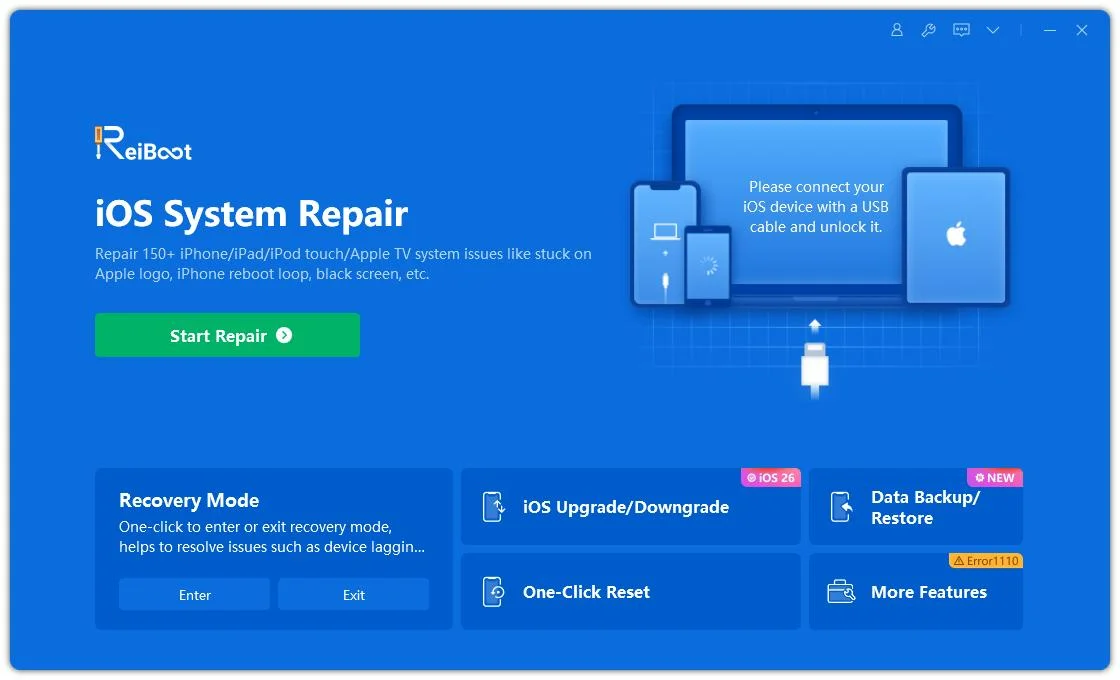
Step 1: Download and Install ReiBoot
Download and install Tenorshare ReiBoot on your PC or Mac, launch the program to get started. Then connect iPhone to computer with an USB cable; tap "Trust" on iPhone if the message prompts.


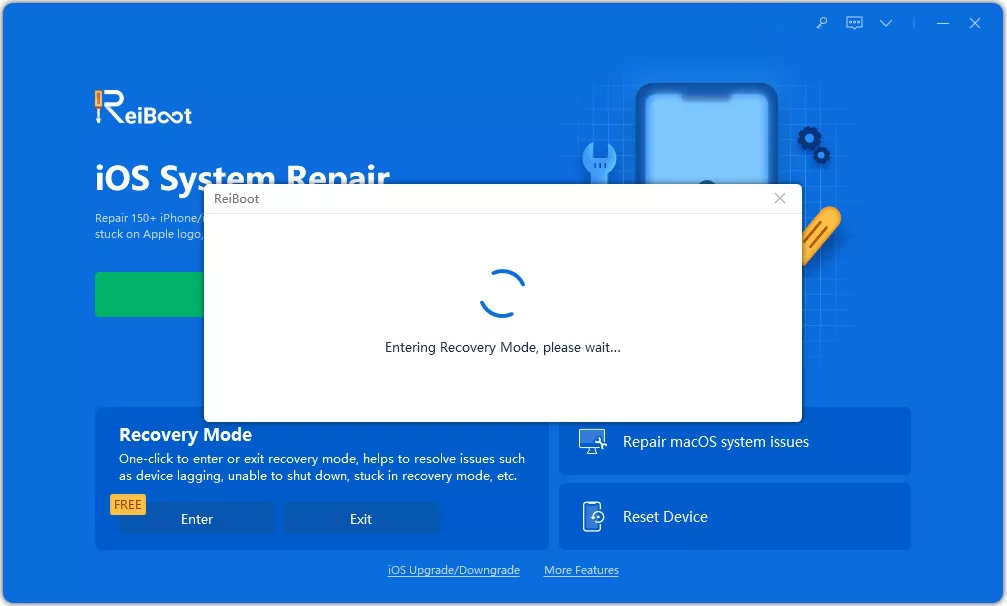
Step 2: Choose feature "Enter Recovery Mode"
ReiBoot will detect your iOS device automatically, click "Enter Recovery Mode" from the main interface to put iPhone into recovery mode.
Step 3: Enter Recovery Mode Successfully
Less than one minute, your device will be in recovery mode. You'll see the iPhone screen displays the "connect to iTunes" logo.
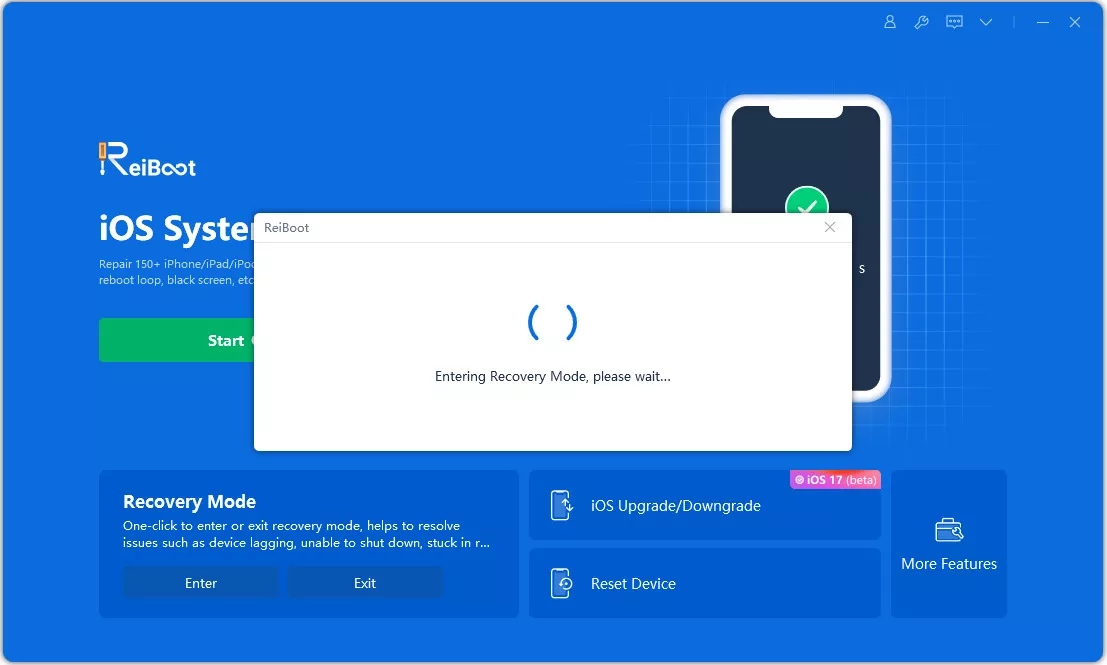
Your iPhone enters recovery mode successfully.