- ReiBoot
- 4uKey
- UltData
- iCareFone for WhatsApp Transfer
- 4MeKey
- 4uKey for Android
- iAnyGo - iOS Location Changer
- UltData for Android
- ReiBoot for Android
- iCareFone
- 4uKey - Password Manager
- TunesCare
- TunesCare for Mac
- 4uKey - iTunes Backup
- 4WinBoot
- Windows Rescure
- Password & Key Recovery
- Data Recovery
- Disk Tools
- 1. Create a Bootable Disk
- 2: Boot Your PC from the Bootable Disk
- 3: Clone Entire Disk
- 4: Clone One Partition
- 5: Back up Disk
- 6. Back up Partition
- 7. Restore Disk
- 8. Restore Partition
- 9. Create a Partition
- 10. Format a Partition
- 11. Delete a Partition
- 12. Resize a Partition
- 13. Wipe a Partition
- 14. Wipe Specific Folders
- 15. Wipe Files
- How to Boot from CD/USB?
- How to Boot from USB in UEFI BIOS?
Step by Step Guide on How to Repair Video Easily
Spending a long time taking videos only to find that they won't open or are corrupted due to some reasons? Want to fix the old video with flickering or blurry problem? It's not a big deal, by using Stellar Repair for Video you can easily get rid of these video problems. Now, let's see how this powerful tool works.
Step 1: Download and Install the Software on Computer
Firstly, you should download and install Stellar Repair for Video on your Windows/Mac. Then launch the software.
Step 2: Import Corrupted Video from Computer
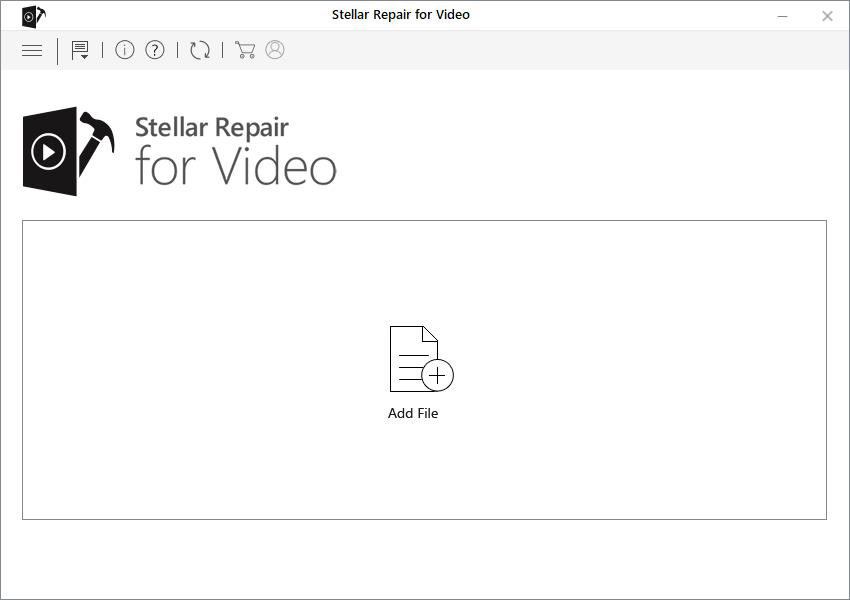
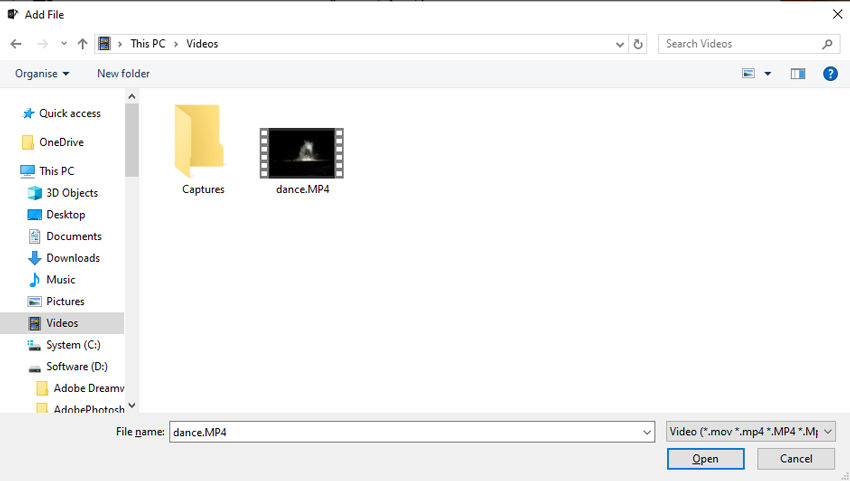
Now, click "Add File" button and select the broken video from your computer.
Note: Please transfer the video to your computer if the video in your media device.
Step 3: Start to Repair Video Now
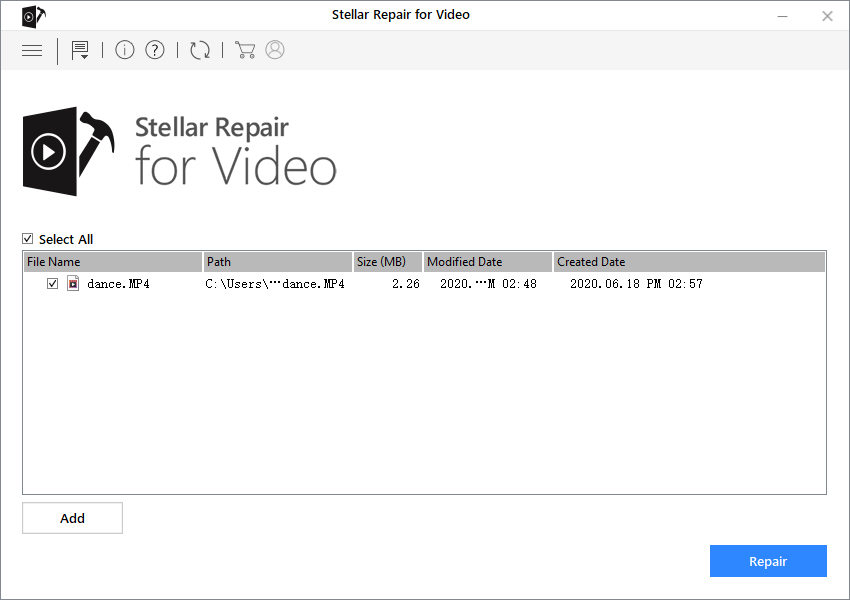
After you have selected the targeted videos, click "Repair" button to restore corrupted, broken, unplayable videos.
Warm Tip: If you want to fix multiple videos at once, click "add" button to select more.
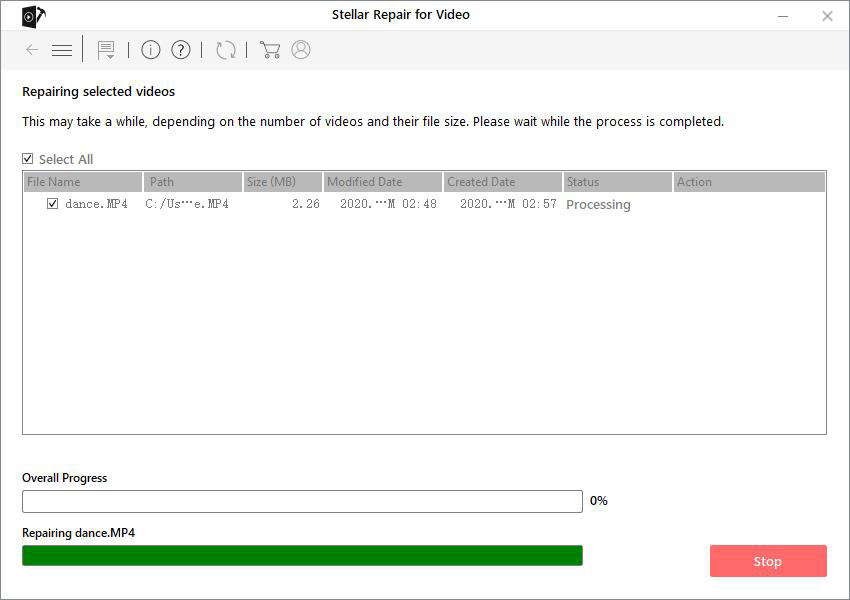
Generally, the whole repair process will take a few minutes for one video. But the exact time of the repair will vary with the number and size of the videos.
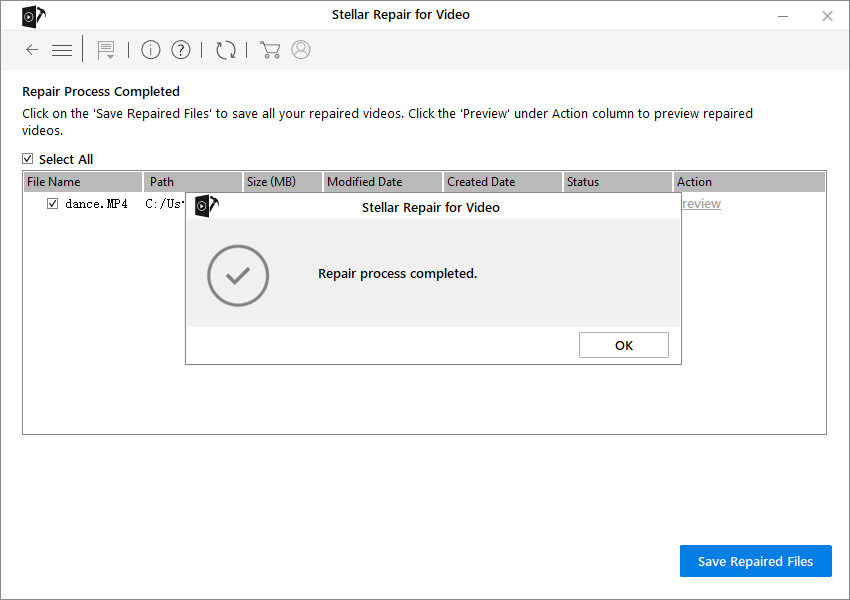
When the repair process is completed, click "OK" button. You can also check the video information.
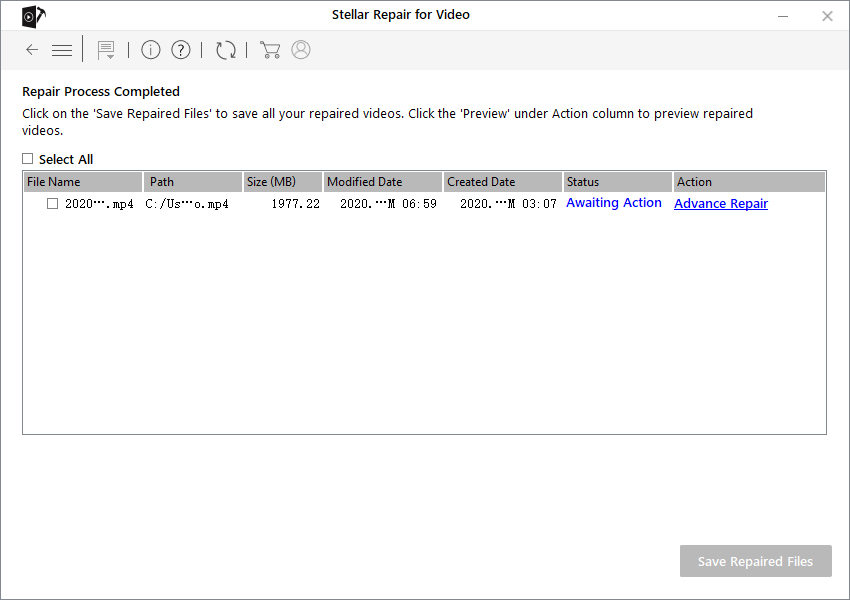
If the video is badly damaged, then you will need to perform an advance repair of that video. Click "Advance Repair" under the "Action".
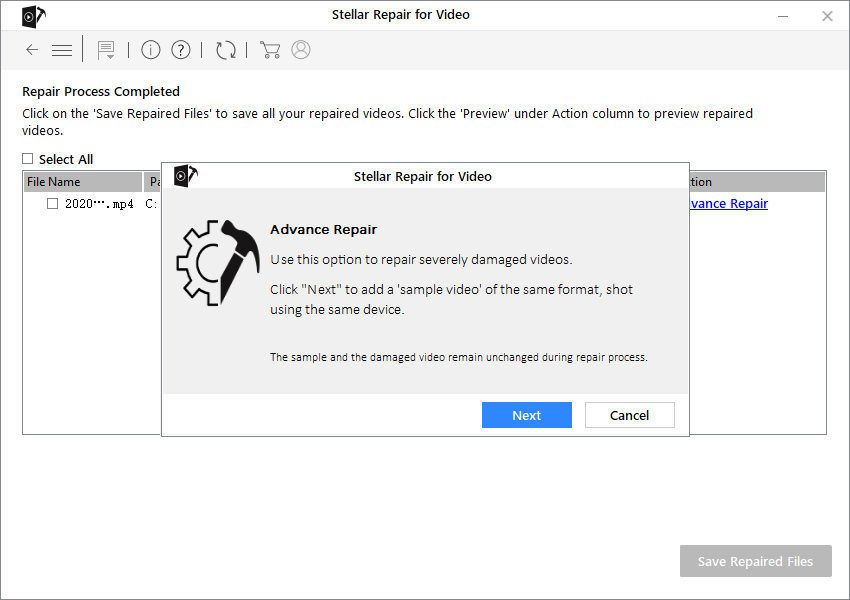
A pop-up box will appear and hit "Next".
Now, you need to select the damaged video from file location by clicking "Browse". And select the option "Apply to all files of same format", click "Repair" option.
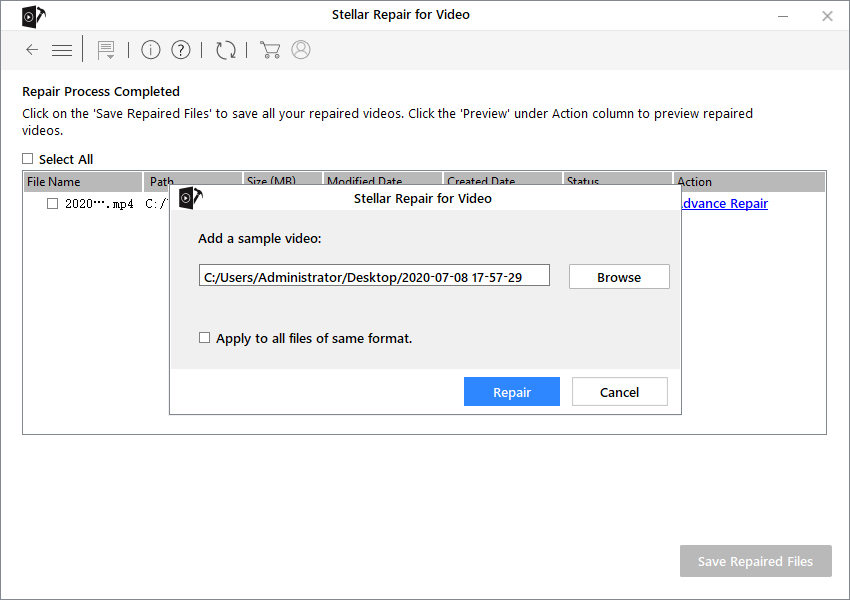
In the end, you will see the "Repair Process Completed" dialog box.
Step 4: Preview and Save Repaired Video to Computer
Please click "Preview" button to check if the video is repaired. Next, tap "Save Repaired Files" to store your video to computer.
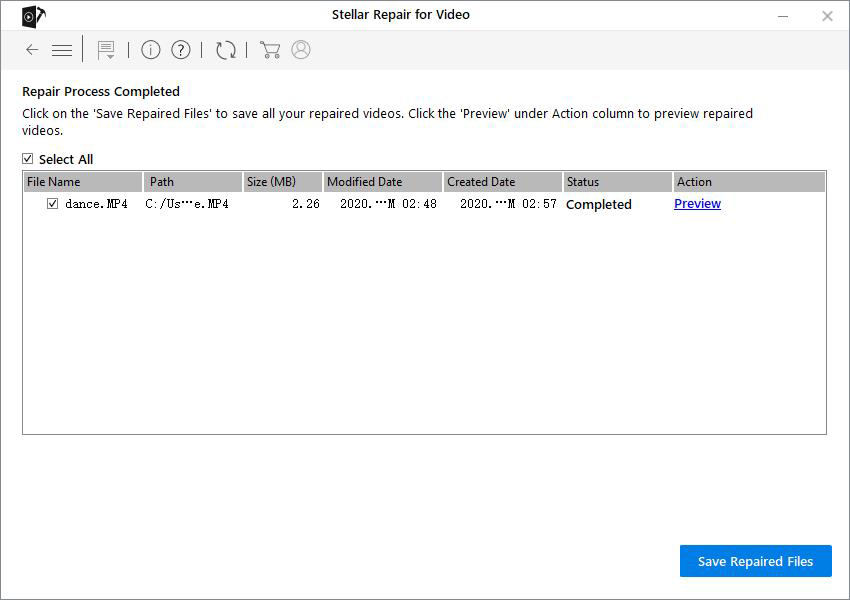
You can select the source location or custom location. If you choose the second option (click "Browse" to choose the location).
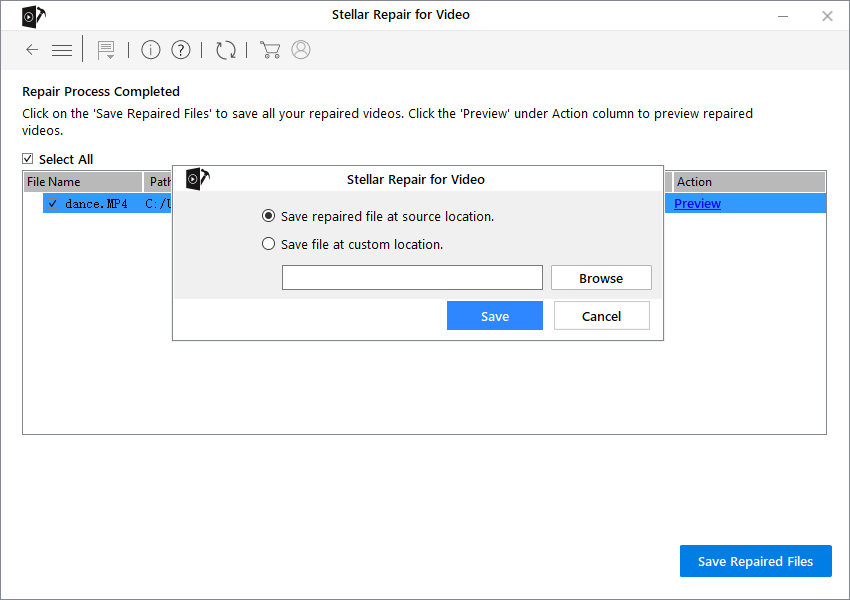
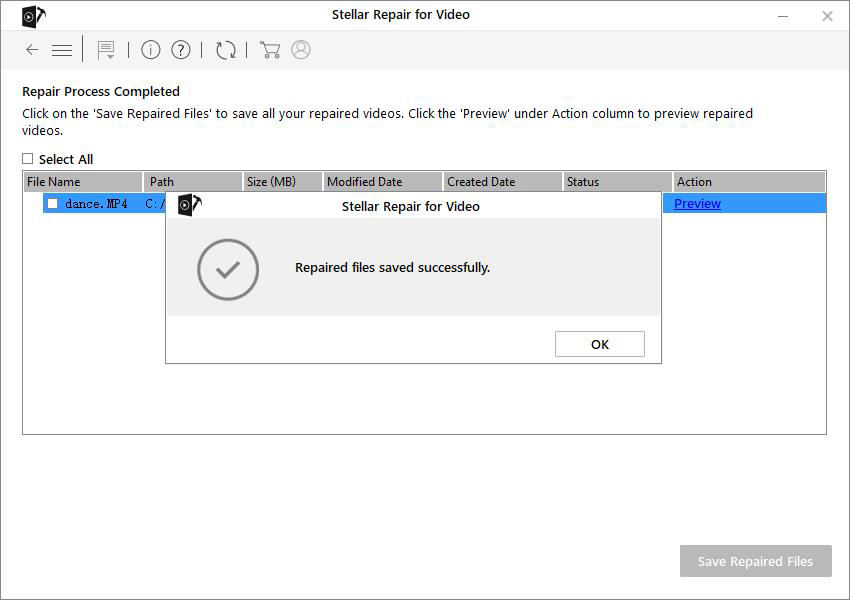
After that, you will see "Repaired files saved successfully". Click "OK" and start enjoying your videos.
