- ReiBoot
- 4uKey
- UltData
- iCareFone for WhatsApp Transfer
- 4MeKey
- 4uKey for Android
- iAnyGo - iOS Location Changer
- UltData for Android
- ReiBoot for Android
- iCareFone
- 4uKey - Password Manager
- TunesCare
- TunesCare for Mac
- 4uKey - iTunes Backup
- 4WinBoot
- Windows Rescure
- Password & Key Recovery
- Data Recovery
- Disk Tools
- 1. Create a Bootable Disk
- 2: Boot Your PC from the Bootable Disk
- 3: Clone Entire Disk
- 4: Clone One Partition
- 5: Back up Disk
- 6. Back up Partition
- 7. Restore Disk
- 8. Restore Partition
- 9. Create a Partition
- 10. Format a Partition
- 11. Delete a Partition
- 12. Resize a Partition
- 13. Wipe a Partition
- 14. Wipe Specific Folders
- 15. Wipe Files
- How to Boot from CD/USB?
- How to Boot from USB in UEFI BIOS?
Guide: How to Repair Corrupted Photo In Minutes
How do you document your life? There are actually many ways, and taking pictures is a great way to record the wonderful life. However, your photos may appear damaged and blurred, as well as not being previewed due to compressed photos. All these situations will disappoint you if it happens to you. Luckily, Stellar Repair for Photo can help you repair damaged photos in any form and makes them look new.
Step 1: Download and Install Stellar Repair for Photo
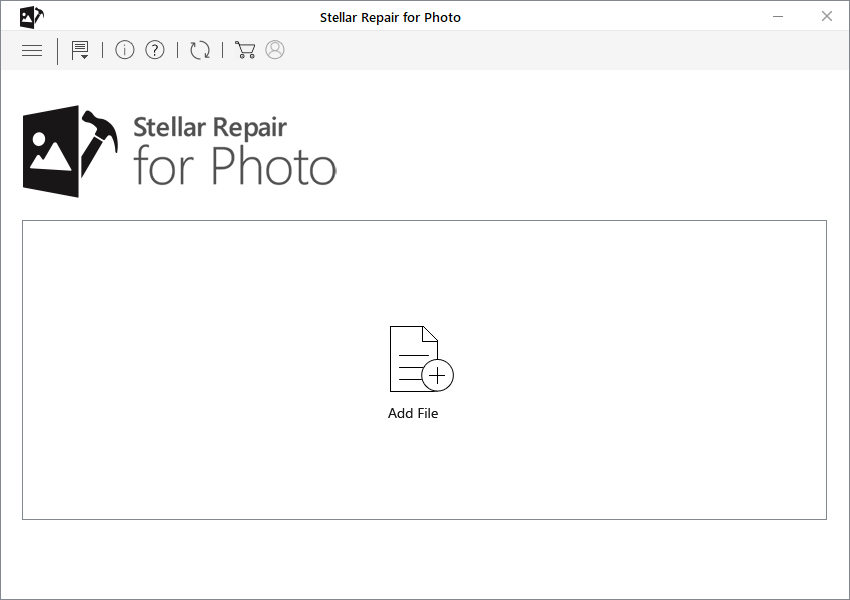
Download and install Stellar Repair for Photo on your Windows or Mac, after installing the software you will see the main interface. Next, click "Add File".
Step 2: Select the Damaged Photos from Computer
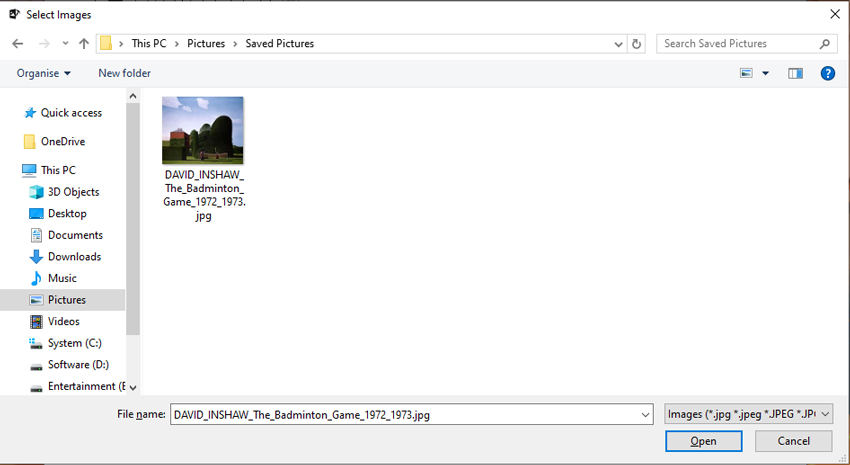
Now, you need to choose the damaged photos from your computer, please locate where it stored.
Step 3: Starting Repair the Damaged Photos
When you've selected the photos you want to fix, click "Repair" button to start.
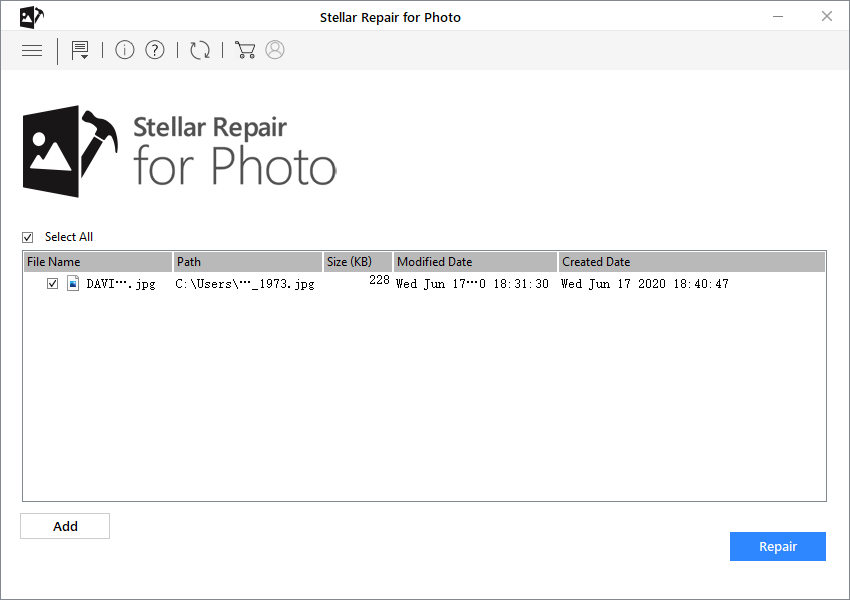
Note: If you want to repair multiple photos at once, you can click "Add" button to import the other photos, and click "Repair".
The time required for the entire restoration process depends on the number and size of your photos. Generally, one picture only need a few seconds to repair. It's very fast.
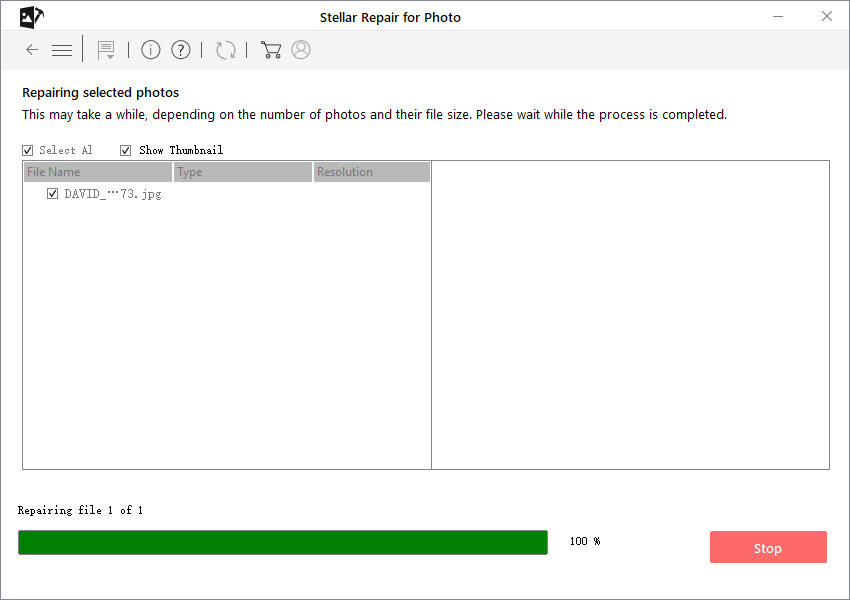
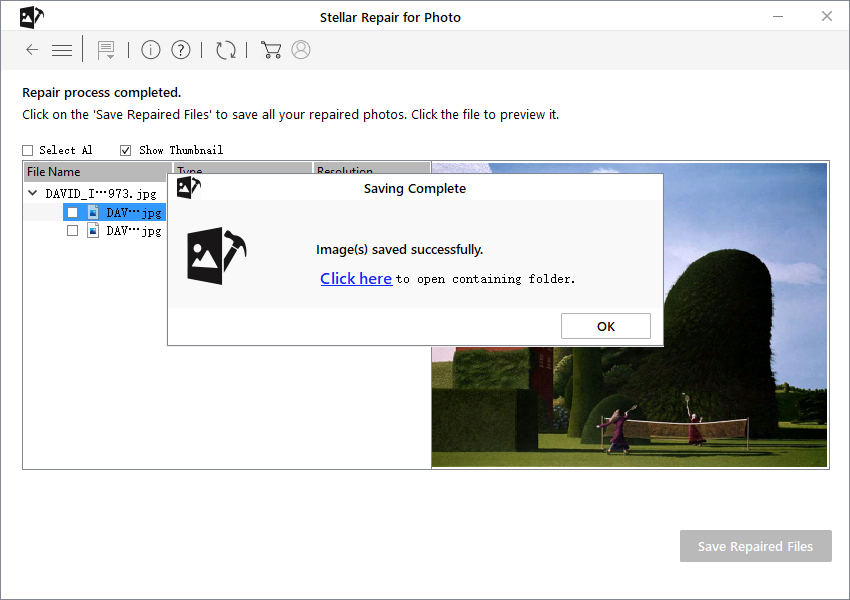
When a window pops up, it means your photos have been repaired successfully. It also generates thumbnails for the photos. Click "OK" to the next step.
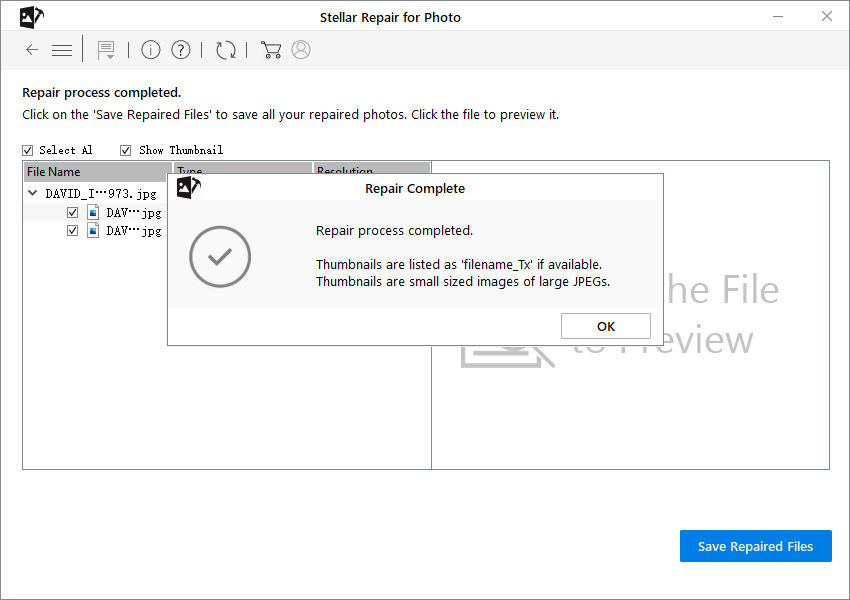
Step 4: Preview the Repaired Photos
Before saving the restored photo to your computer, the repaired photos were presented with type and size information. you can preview by clicking the image icon in the left box.
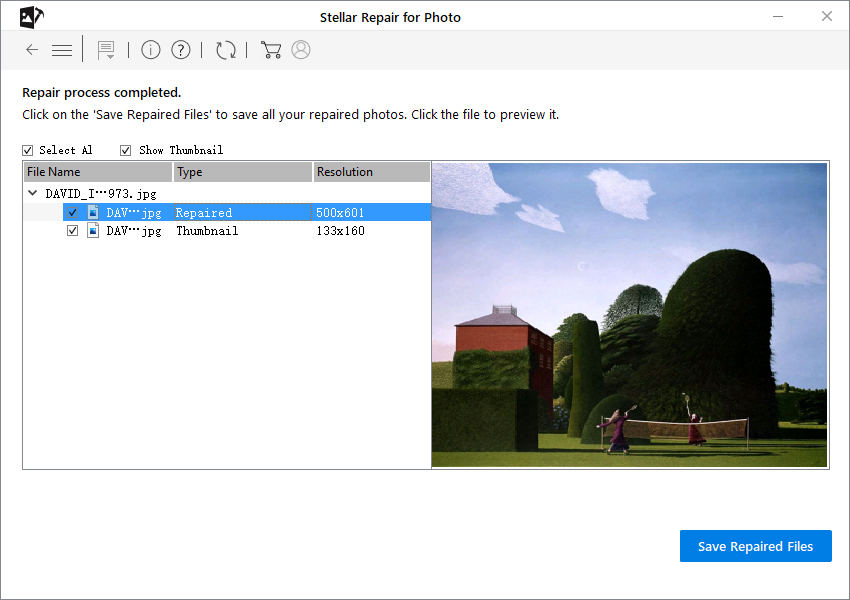
Step 5: Save Repaired Photos on Computer
In the end, click "Save Repaired Files" and select the location on your computer where you want to store it.
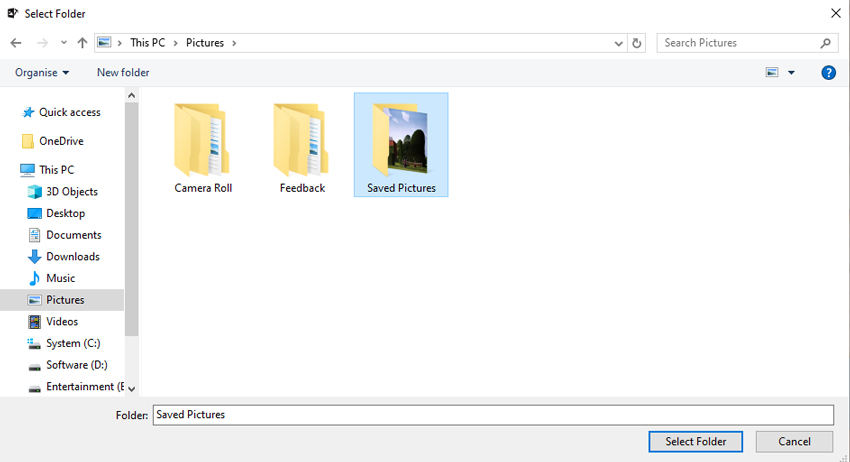
After saving complete, you will see "Images(s) saved successfully", click "OK" to finish the steps. You can also hit the link "Click here" to open the folder where the repaired photos are stored.
