- ReiBoot
- 4uKey
- UltData
- iCareFone for WhatsApp Transfer
- 4MeKey
- 4uKey for Android
- iAnyGo - iOS Location Changer
- UltData for Android
- ReiBoot for Android
- iCareFone
- 4uKey - Password Manager
- TunesCare
- TunesCare for Mac
- 4uKey - iTunes Backup
- 4WinBoot
- Windows Rescure
- Password & Key Recovery
- Data Recovery
- Disk Tools
- 1. Create a Bootable Disk
- 2: Boot Your PC from the Bootable Disk
- 3: Clone Entire Disk
- 4: Clone One Partition
- 5: Back up Disk
- 6. Back up Partition
- 7. Restore Disk
- 8. Restore Partition
- 9. Create a Partition
- 10. Format a Partition
- 11. Delete a Partition
- 12. Resize a Partition
- 13. Wipe a Partition
- 14. Wipe Specific Folders
- 15. Wipe Files
- How to Boot from CD/USB?
- How to Boot from USB in UEFI BIOS?
How to Fix iTunes Sync Problems on Mac
When you use iTunes on Mac to sync your iPhone, iPad, iPod, you might see an error code or alert, like iTunes cannot read content of your iPhone, iTunes sync session failed to start, iTunes won't transfer music to iPhone, the device cannot be synced, etc. Learn how to fix these error messages with Free Tenorshare TunesCare for Mac.
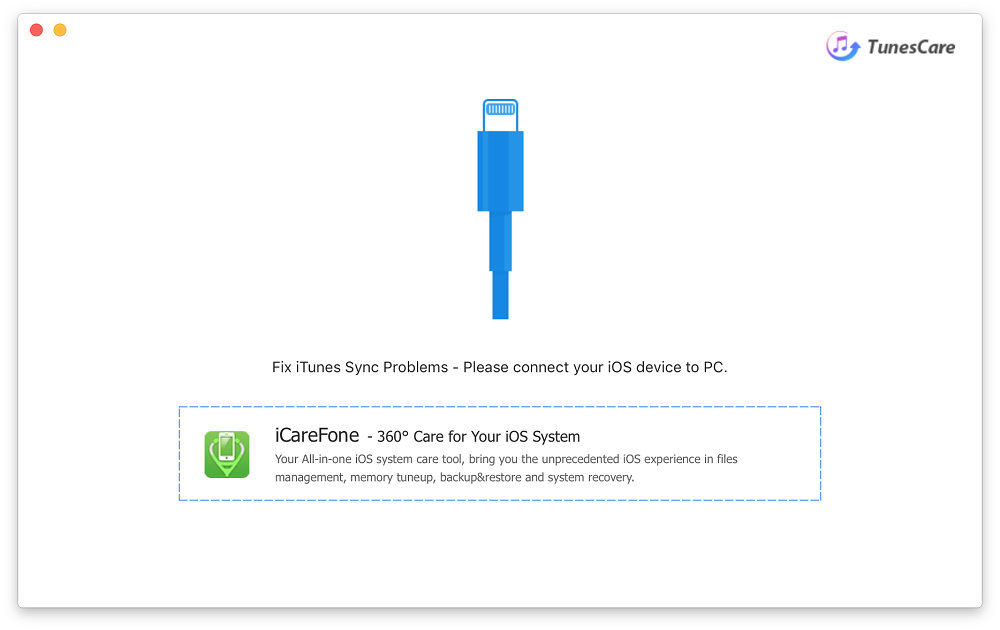
Step 1: Connect Device
Download and install this software on your Mac OS computer. Then connect your iOS device with Mac. Better to do it with the original USB cable.
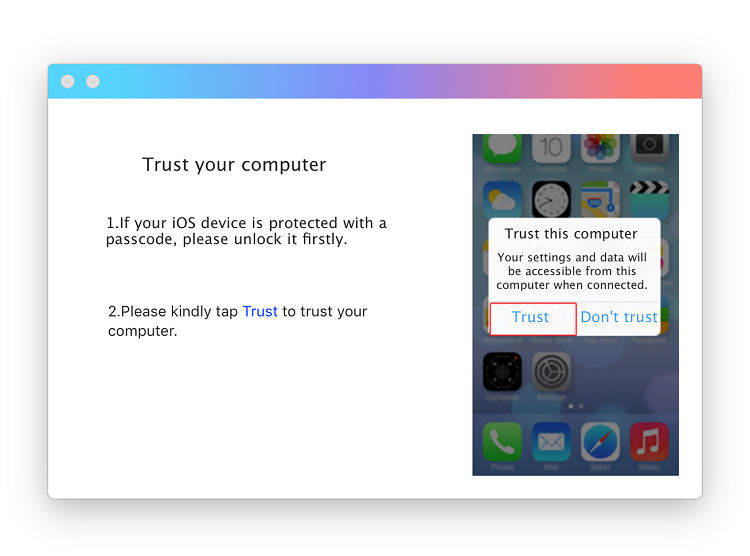
Note: You may receive a pop up message asking whether to Trust your computer. Please kindly tap Trust to make sure Tenorshare TunesCare can successfully recognize your device.
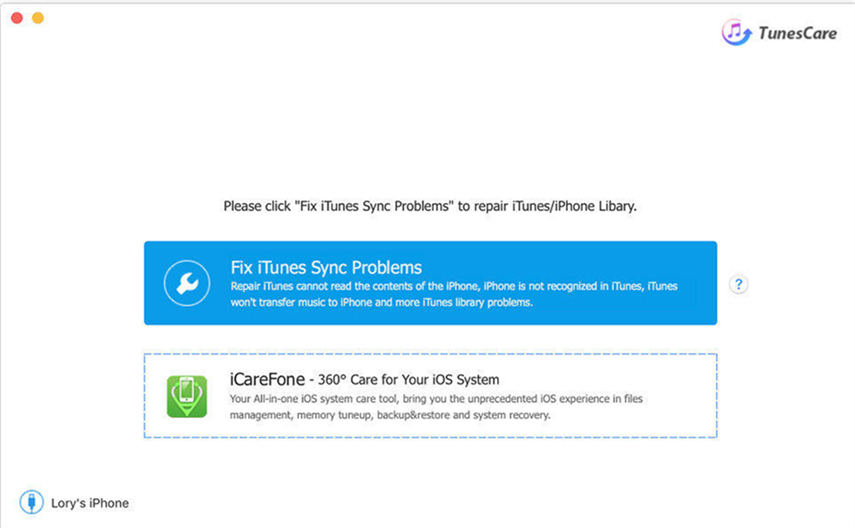
Step 2: Fix iTunes Sync Problems
Click "Fix iTunes Sync Problems" to run systematic repairing and reorganize iTunes/iPhone Library after devices are detected. The process takes less than 3 seconds.
Step 3: Check & Deep Repair
Check whether iTunes can work normally to sync with your device after repairing.
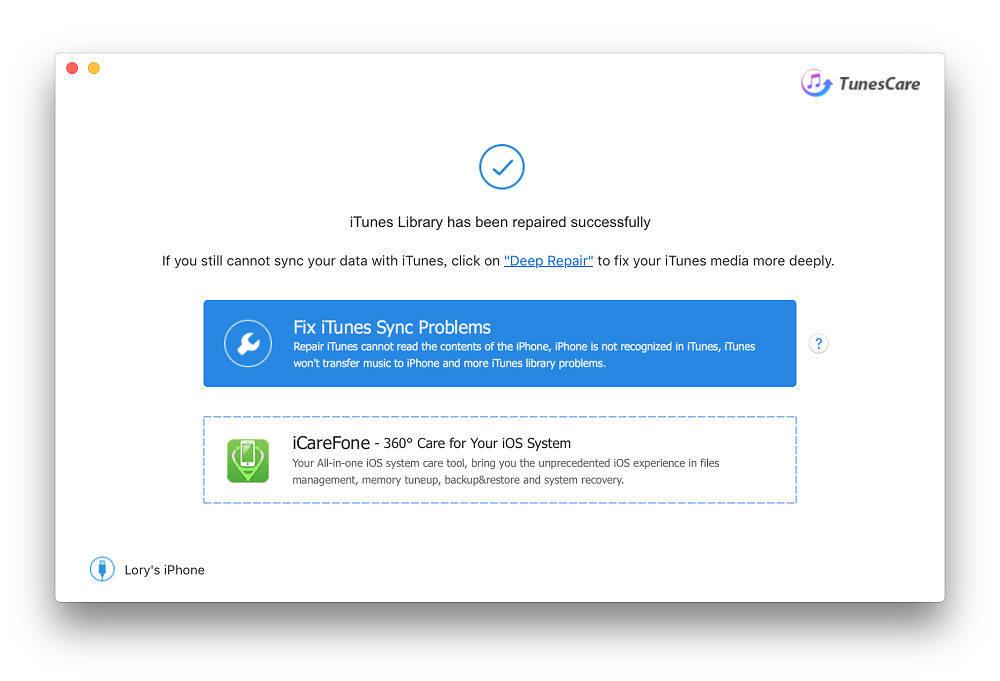
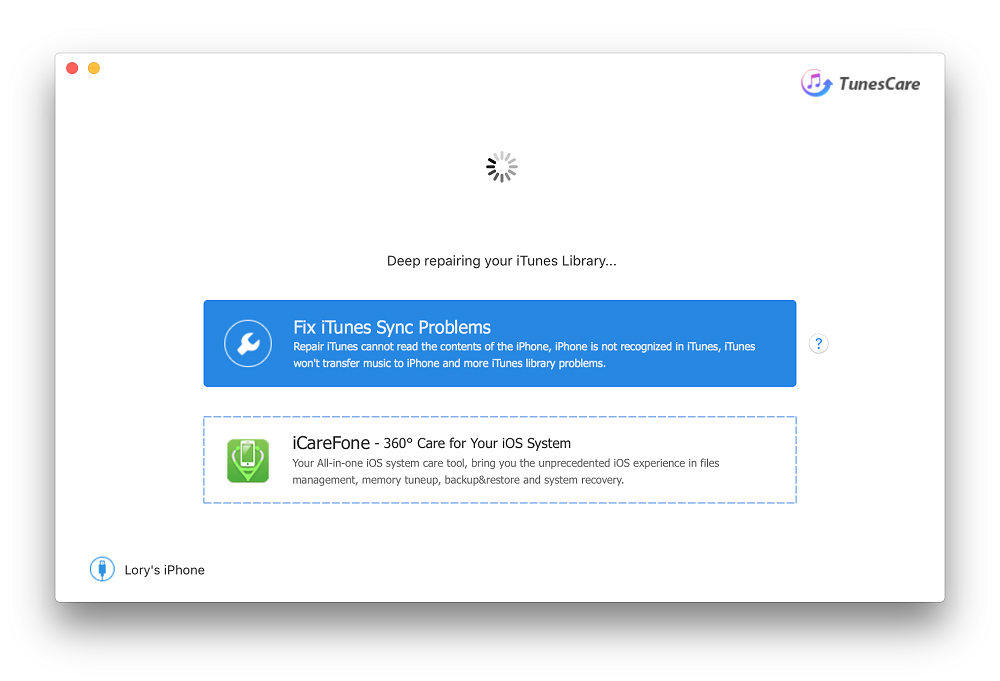
If not, you are good to try Deep Repair mode to check for the iTunes media files and iTunes Library. Similarly, it can be finished within seconds.
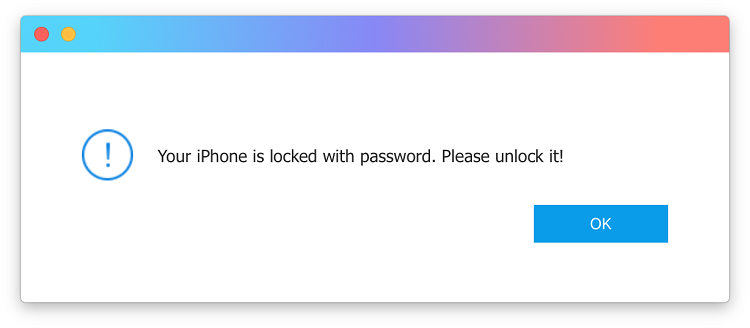
Note: If your iPhone, iPad is lock with a password, you need to unlock it firstly in order to execute Deep Repair mode.
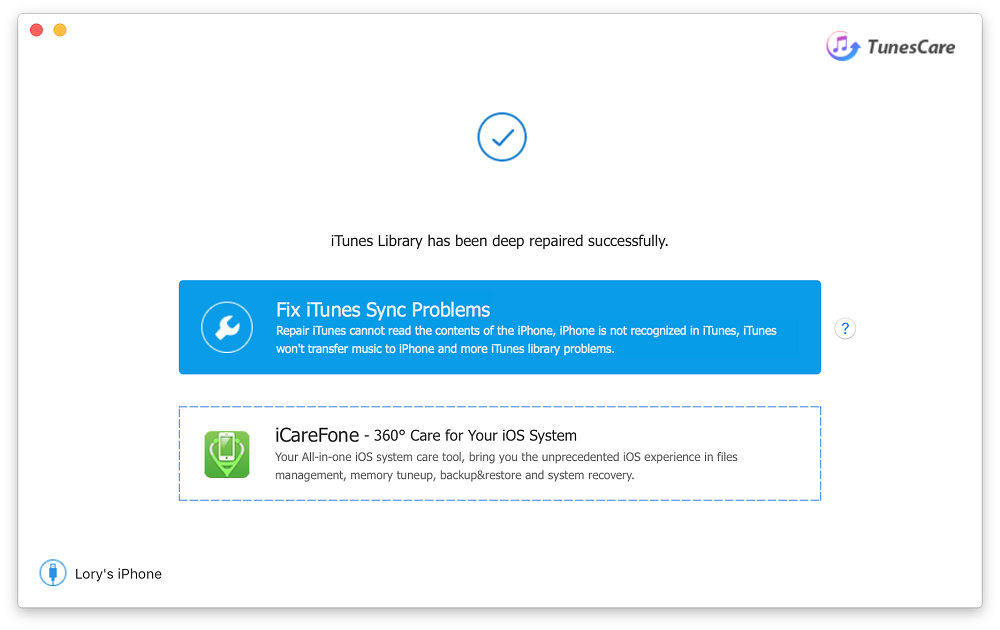
Step 4: Repair Finished
After deep repairing, you should regain a normal iTunes on Mac now. Feel free to backup your data and transfer any files.
