How to Recover Data from iPhone, iPad or iPod Touch Directly
Below is the detailed guide of how to recover lost data from your iOS 14 beta/13.6 devices directly, including photos, SMS, notes, call history, WhatsApp/Tango messages, App data (Kik & Kik Attachements, Viber Data, Wechat Data, Tango, LINE & LINE Attachments) and other files from iPhone XR/XS/X/8/8 Plus, 7/7 Plus, iPhone SE, iPhone 6s/6s Plus/6/6 Plus, iPhone 5s/5c/5, iPhone 4S, iPad and iPod touch. No matter you lost data after iOS updates or jailbreak, the program UltData - iOS can scan for lost files and then recover for you. You are allowed to preview files before recovery.


Step 1: Connect iOS Device to Computer or Mac
First of all, make sure your iPhone, iPad or iPod is switched on and connect it to your computer or Mac with USB cable. Next launch UltData - iOS on your computer. The default mode is "Recover from iOS Device". The program will detect your iOS device automatically if it is connected and trusted.
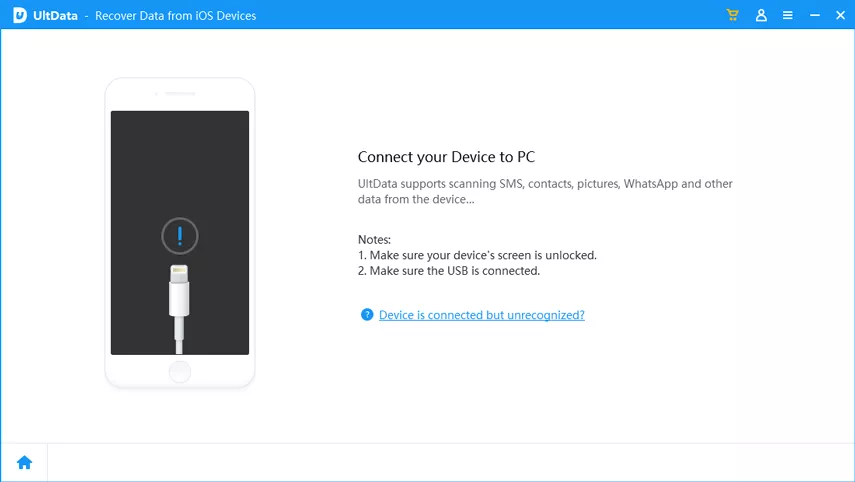
Note 1: If your iPhone/iPad/iPod is functioning properly and it is well-connected to computer with USB cable, please unlock it if it has a passcode. Also, please check whether you get a pop-up window asking you to tap "Trust" on your device. Tap Trust option and your iOS device will be detected instantly.

Note 2: If your iOS device is connected but fails to be recognized, follow the pop-up instruction to solve this problem.

Note 3: If your iOS device gets stuck in recovery mode after connecting to computer, you can click "Exit Recovery Mode" button on the interface to fix the stuck issue. Just wait for a couple of seconds, your device will reboot and get detected by UltData - iOS.

Note 4: If the iPhone is black/frozen or responseless, please click"Fix iOS to Normal" to repair iOS system firstly before data recovery.
Step 2: Start Scanning iOS Device for Lost Data
When the software detects your device, it will show you the interface as follows. You can tick what you would like to scan and recover, or just simply select all to start a comprehensive and deep scan, then click "Start Scan" to proceed.

Step 3: Preview Data Before Recovery
Now all scanned files are listed on the program according to category. You can choose "Show All" or "Only display the deleted items" to recover. To save time, you can selectively recover those you need.

You can also double click a picture to view it at full size.

Print Text Messages, Contacts, Notes and More from iOS Device (Optionally)
You will be able to print text messages, contacts, notes and more from iOS devices(including 14 beta). Just make sure your computer is connected to a printer, choose files you want to print and press the "Print" button on right of the top menu, which will bring up 2 options: Print and Preview.

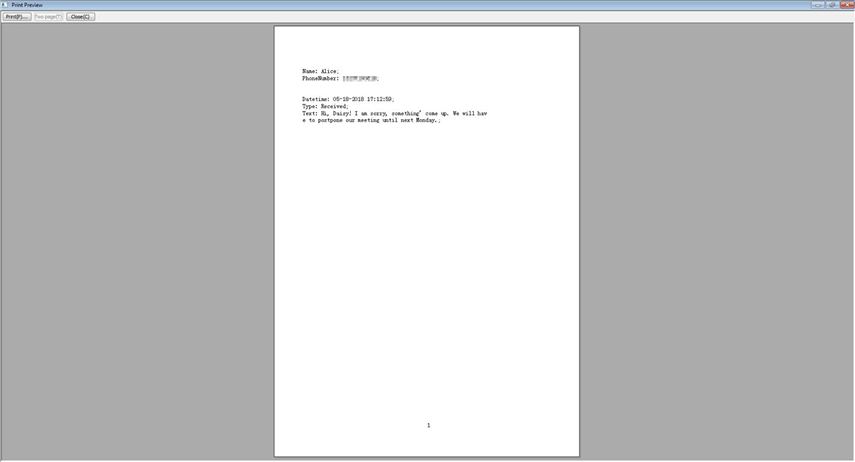
- Preview:
Click on "Preview" to preview before printing as below.
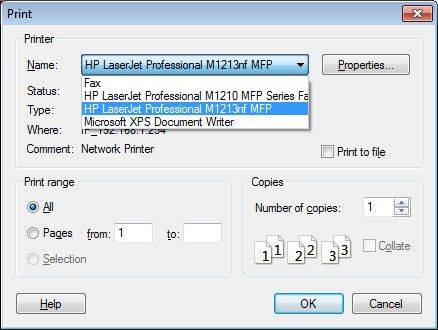
- Print:
Select printer name and click Print button to start printing.


Step 4: Recover Data from iOS Device
Check the files you need and click "Recover". You can either to recover lost files to computer or directly recover them to your device. Note: there could be some limitations for different types of files. Currently, message doesn't support to export to iOS 13.6 and above for a Windows user and note cannot be exported to iOS 10 and above
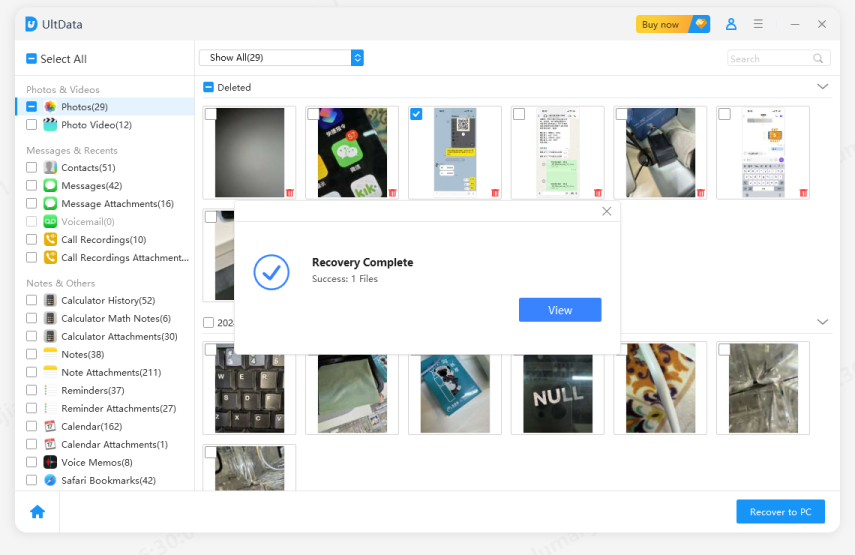
Output Setting: Before recovery, you can click "Output Setting" icon on the interface and choose a destination folder to save the recovered files and select file formats you want to keep your files.
