- ReiBoot
- 4uKey
- UltData
- iCareFone for WhatsApp Transfer
- 4MeKey
- 4uKey for Android
- iAnyGo - iOS Location Changer
- UltData for Android
- ReiBoot for Android
- iCareFone
- 4uKey - Password Manager
- TunesCare
- TunesCare for Mac
- 4uKey - iTunes Backup
- 4WinBoot
- Windows Rescure
- Password & Key Recovery
- Data Recovery
- Disk Tools
- 1. Create a Bootable Disk
- 2: Boot Your PC from the Bootable Disk
- 3: Clone Entire Disk
- 4: Clone One Partition
- 5: Back up Disk
- 6. Back up Partition
- 7. Restore Disk
- 8. Restore Partition
- 9. Create a Partition
- 10. Format a Partition
- 11. Delete a Partition
- 12. Resize a Partition
- 13. Wipe a Partition
- 14. Wipe Specific Folders
- 15. Wipe Files
- How to Boot from CD/USB?
- How to Boot from USB in UEFI BIOS?
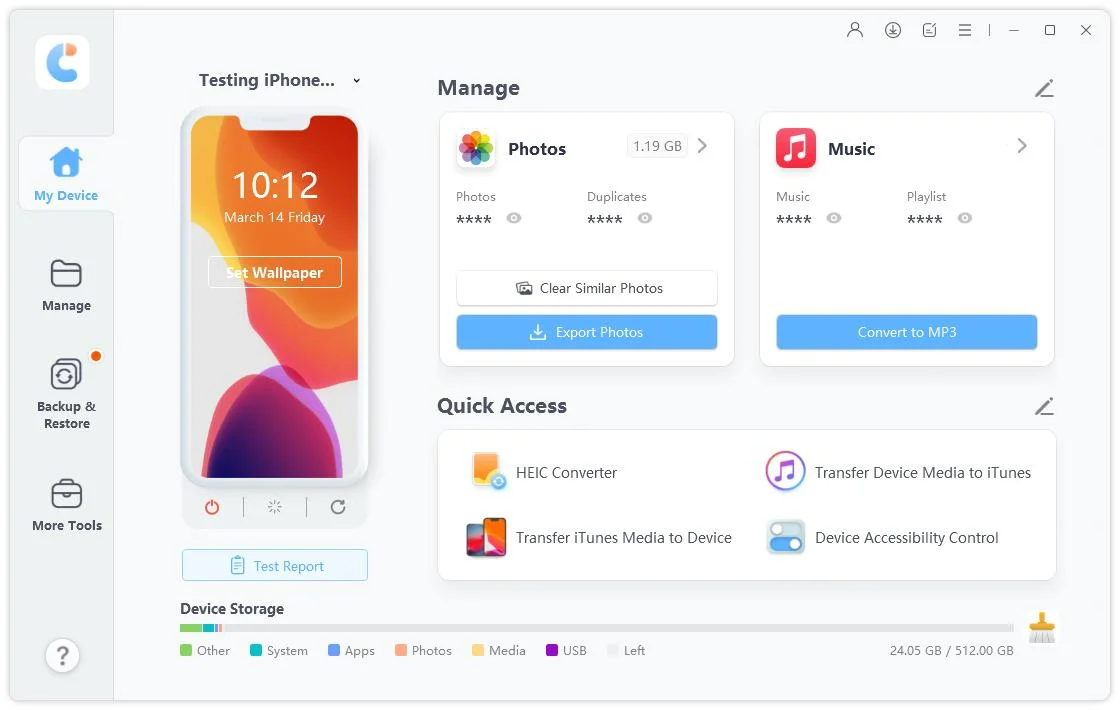
Guide for One-click Exporting Photos to PC/Mac
Having thousands of photos on your device will definitely eat up the storage space, therefore you need to know how to export photos from iPhone/iPad to computer easily in 1 click.
Step 1: Connect Device
Download and install Tenorshare iCareFone on your PC or Mac and connect your device with it. If prompted to "Trust This Computer", please unlock your device and enter the passcode to ensure successful detection. After the device is connected, select "One-click Export Photos to PC" from main interface for quick start.


Step 2: Start Exporting
All the photos, no matter shot by your device or downloaded online, will automatically be transferred to your computer.

When the transferring process completes, the destination folder will pop up. If not, you can click on "Open Folder" to view transferred photos. All your photos will be carefully stored by original folder.
