- ReiBoot
- 4uKey
- UltData
- iCareFone for WhatsApp Transfer
- 4MeKey
- 4uKey for Android
- iAnyGo - iOS Location Changer
- UltData for Android
- ReiBoot for Android
- iCareFone
- 4uKey - Password Manager
- TunesCare
- TunesCare for Mac
- 4uKey - iTunes Backup
- 4WinBoot
- Windows Rescure
- Password & Key Recovery
- Data Recovery
- Disk Tools
- 1. Create a Bootable Disk
- 2: Boot Your PC from the Bootable Disk
- 3: Clone Entire Disk
- 4: Clone One Partition
- 5: Back up Disk
- 6. Back up Partition
- 7. Restore Disk
- 8. Restore Partition
- 9. Create a Partition
- 10. Format a Partition
- 11. Delete a Partition
- 12. Resize a Partition
- 13. Wipe a Partition
- 14. Wipe Specific Folders
- 15. Wipe Files
- How to Boot from CD/USB?
- How to Boot from USB in UEFI BIOS?
How to Repair Android System with Reiboot for Android
Recently, more and more people are choosing Android as their mobile devices in daily life with their competitive price and better performance. As we all know, the more choices, the more problems. If you use Android, you may be faced with black/blue screen, crashed with very sudden battery drains and others. For these problems, the first thing comes to your mind maybe fastboot your Android or enter into recovery mode to fix them but these two ways can only solve the simple problems. For the severe ones, you may need to repair your Android system deeply. Here ReiBoot for Android is a good choice for you and details are as follows.
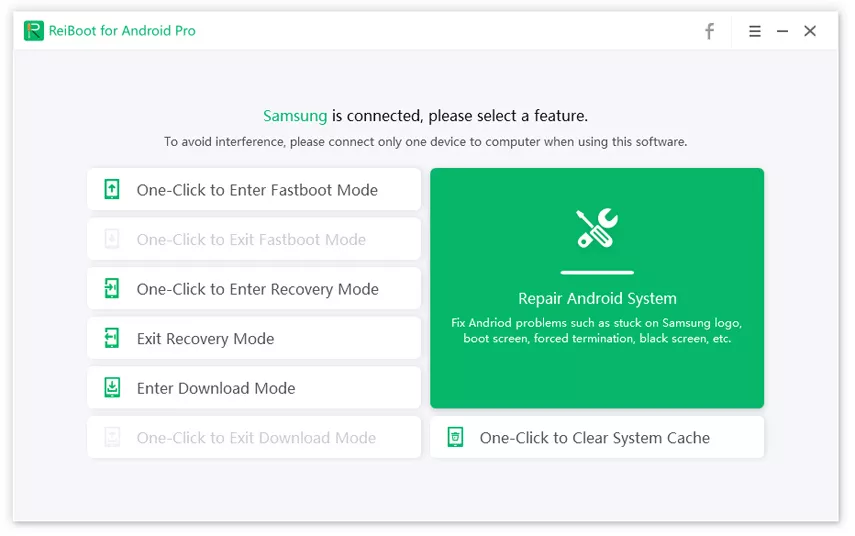
Step 1: Download and Install ReiBoot for Android on Your PC
Download and install ReiBoot for Android on your computer and run it. Then connect your Android to your computer (Enable USB Debugging) and click "Repair Android System".


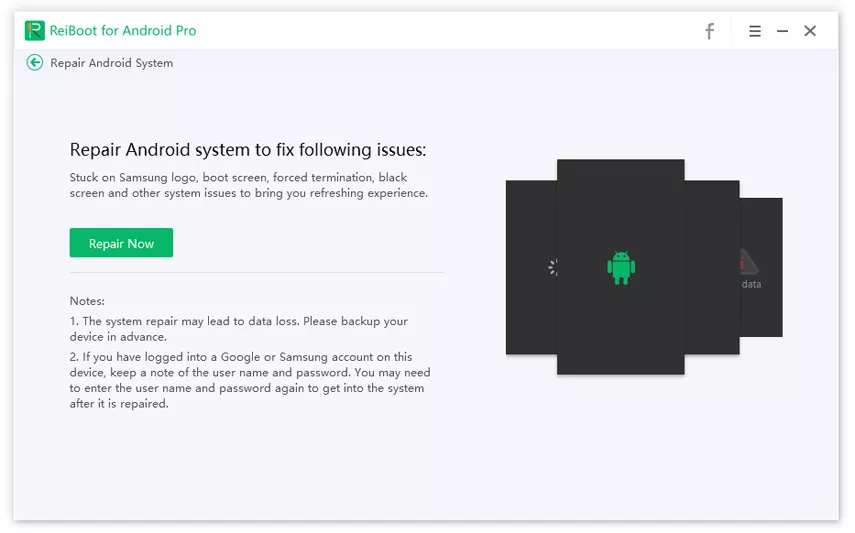
Step 2: Click "Repair Now" to Proceed
Then you'll see an interface as follow. Click "Repair Now" to proceed if your Android device is not working smoothly.
Step 3: Select Correct Device Info
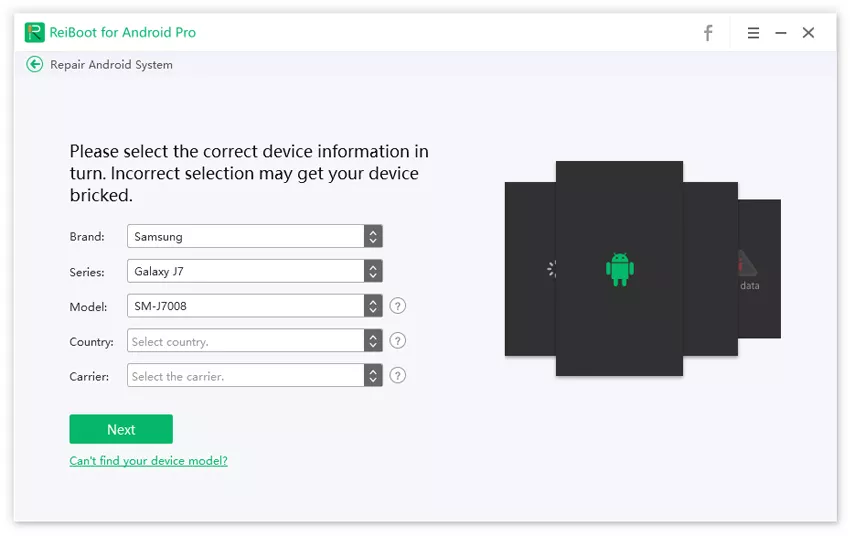
TIP: If you don't know where to find your device info which listed above, you can move your mouse to "?" which is next to the scroll bar to view the details.
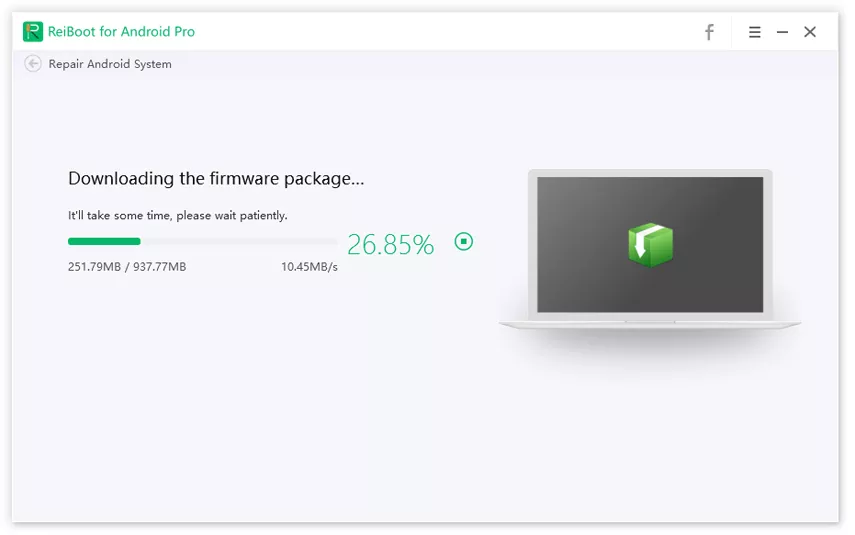
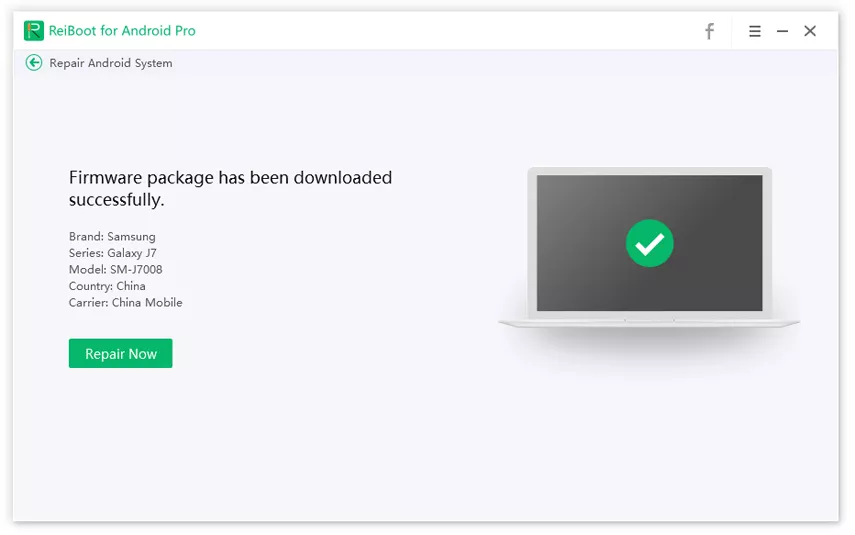
Step 4: Download Firmware Package
After you complete the selection of your device info one by one, the process of downloading the corresponding firmware package is now under way and it won't take long.
Step 5: Start Android System Repair
Once the firmware package is downloaded to computer, you can click "Repair Now" to start system repair.
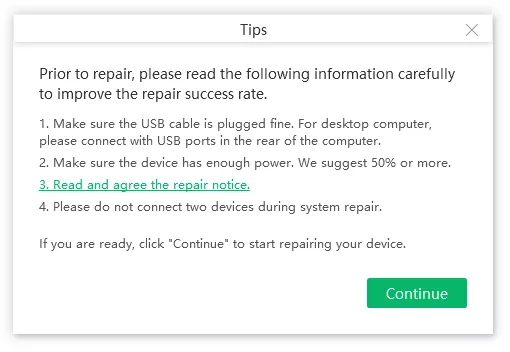
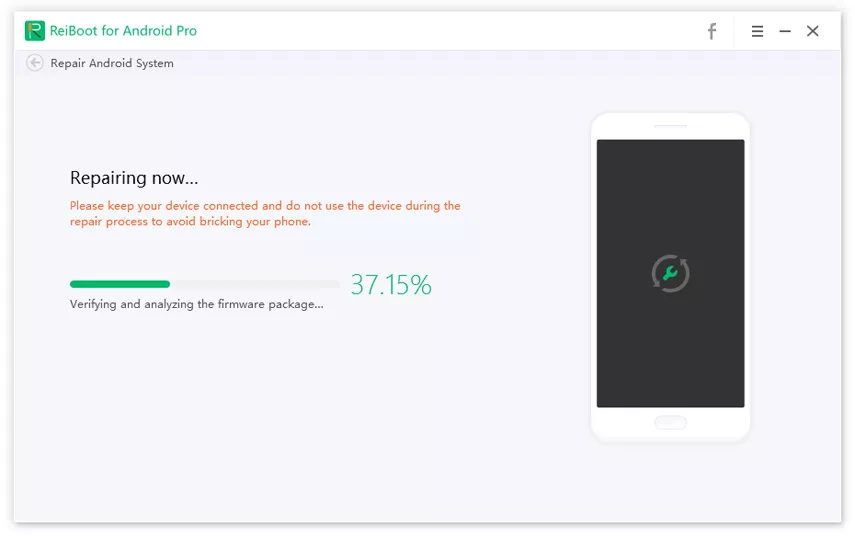
Note: Please read the pop-up interface to read the notice carefully and then click "Continue" to keep on going. Next you'll see the following interface and then follow the steps showed on it to enter download mode to launch the repairing process.
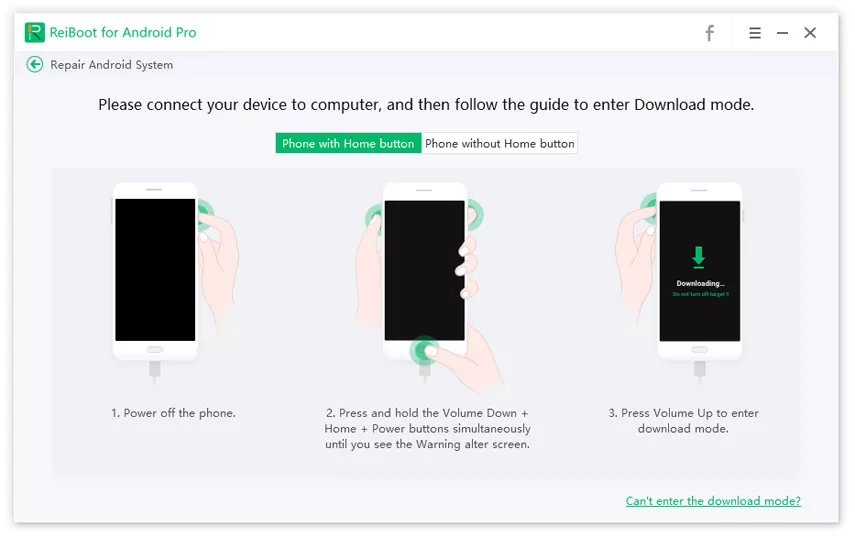
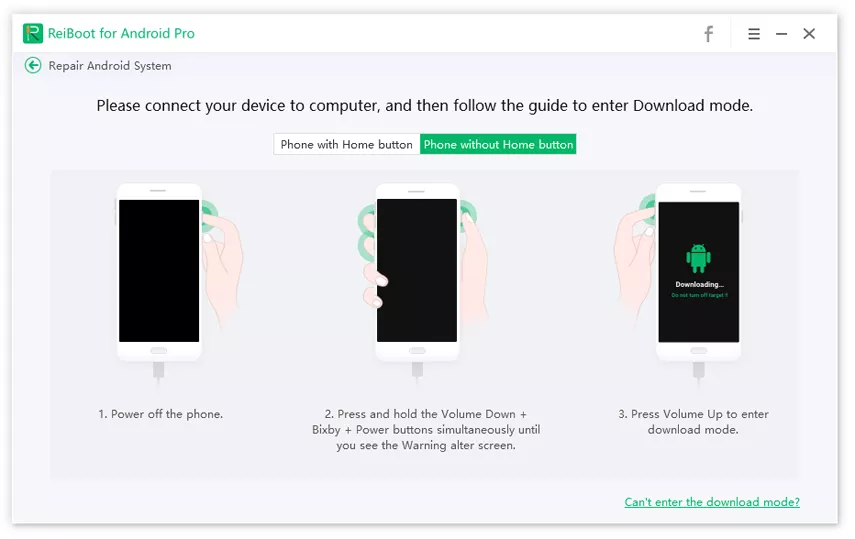
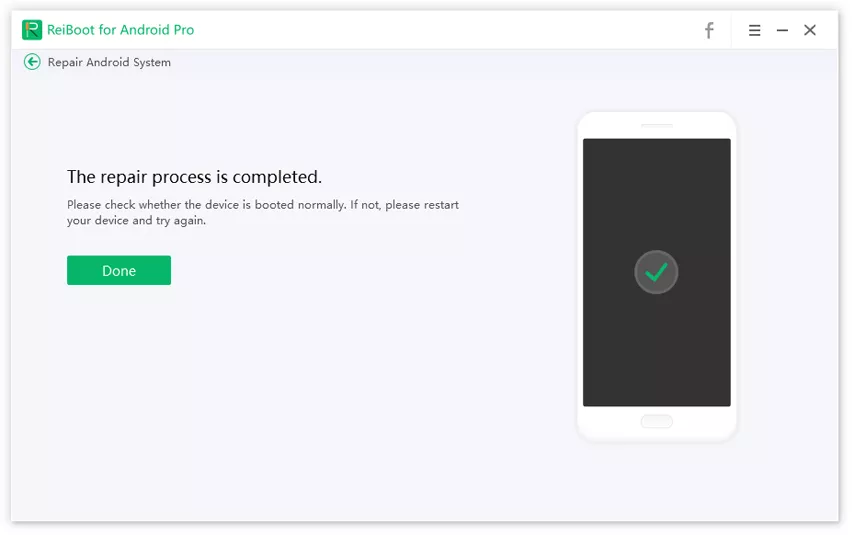
The whole process will take around 10 minutes; do not disconnect the device during the process. Once the repairing process ends, your Android device will boot up as normal.
Tip: If you stuck in downloading mode in the process, please click "Retry" as follow to know about details of how to exit it and then try to repair your device again.
Video Guide: Repair Android System to Normal At Your Fingers